Skip to content
en
Germany EUR
Skip to product information
Description

Headgear – a tailored fit, a firm hold

A head harness you can adjust to suit the shape of your head: the Headgear uses specially designed connector discs instead of conventional rings. Depending on the connector, the straps can slide or pivot. This lets you adjust not only the fit, but also the position of the connectors and the path of each strap – for a close-fitting, restrictive hold.

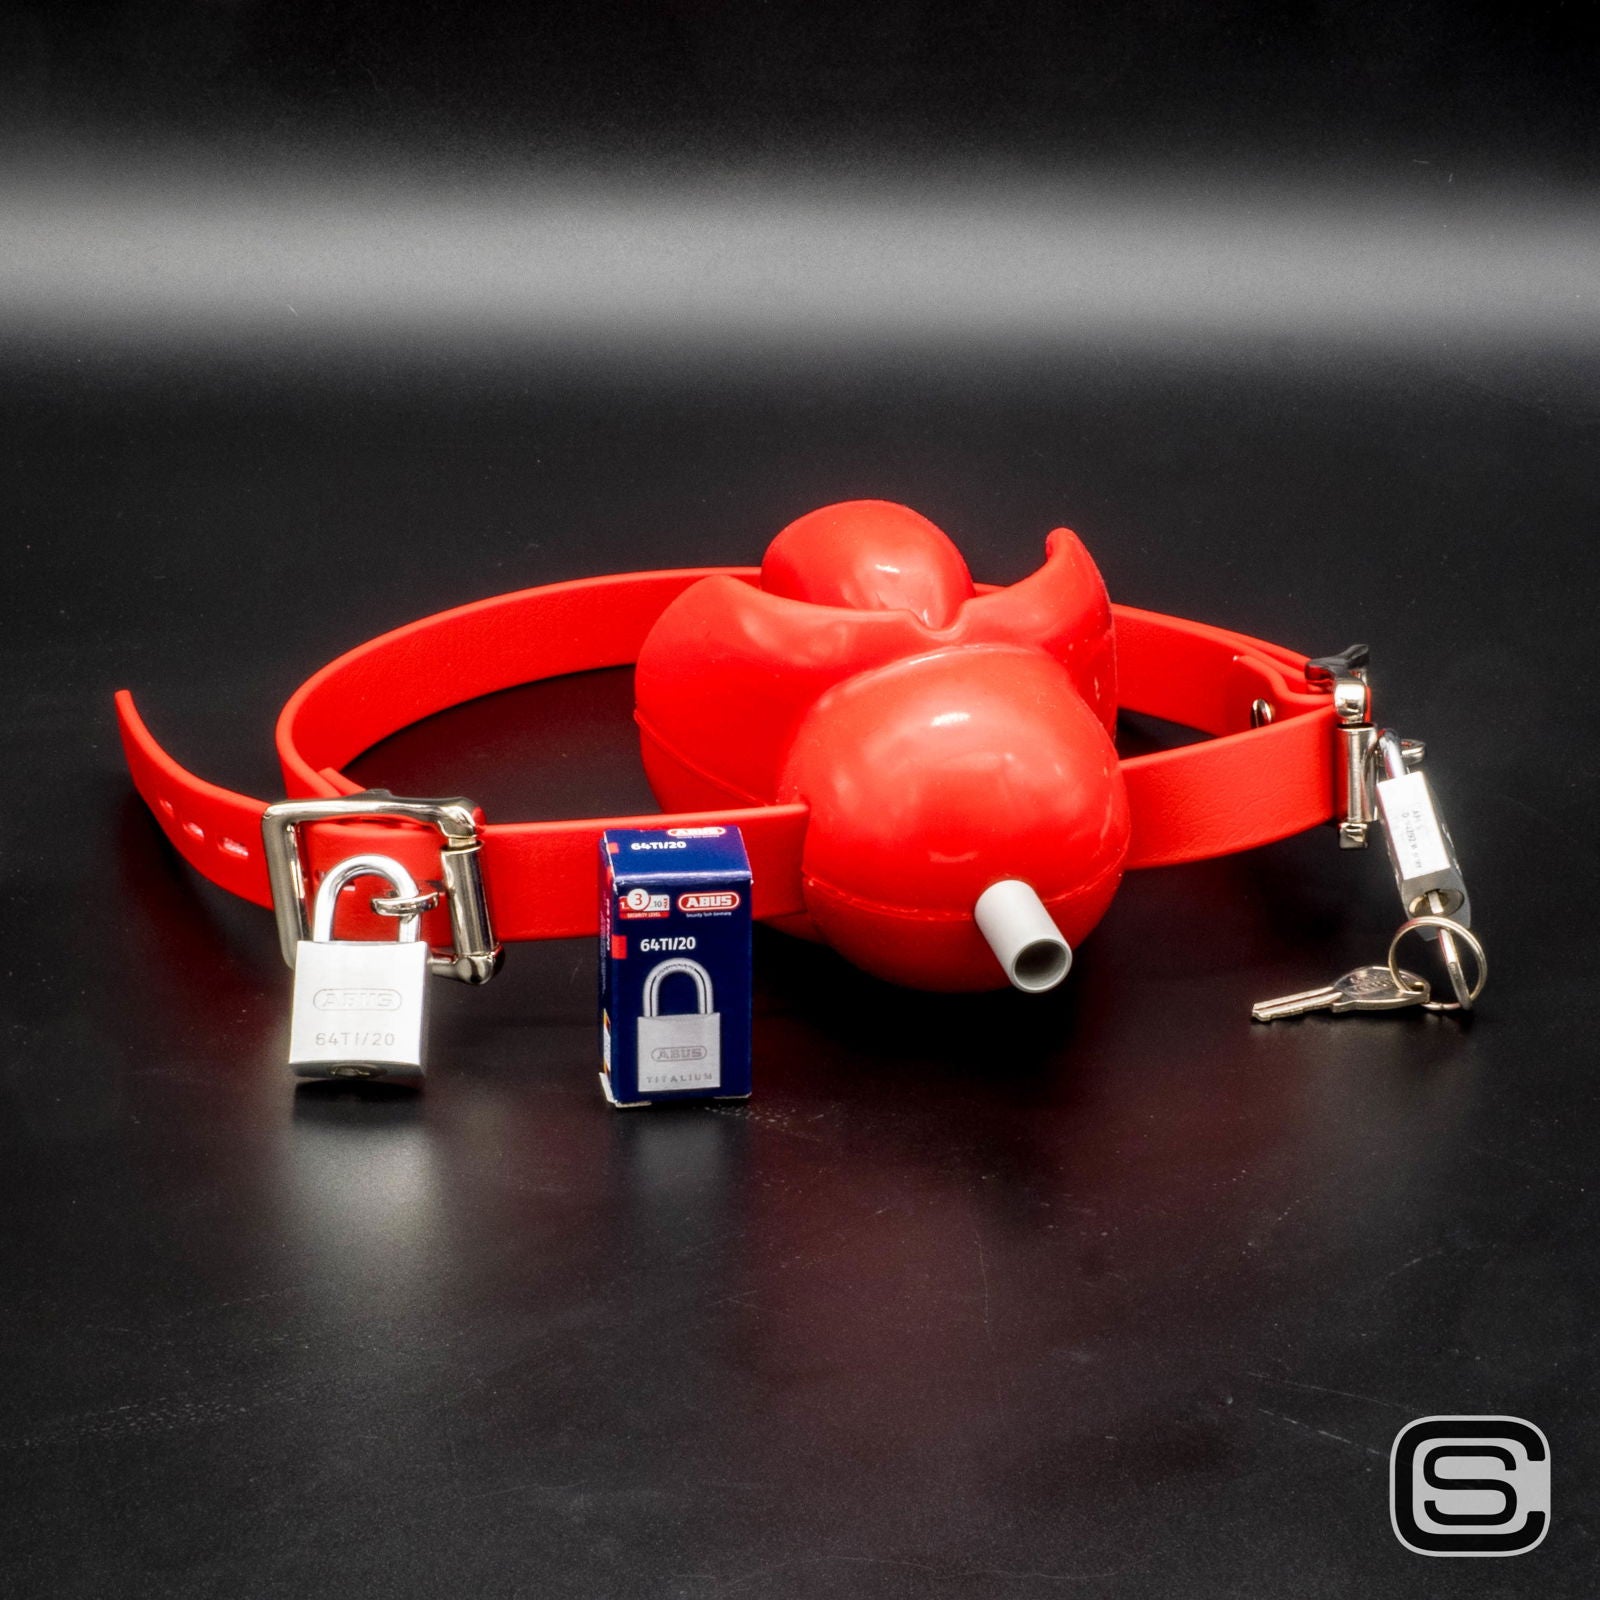
Changing the gag is straightforward, too: it threads directly onto the main strap and can be swapped for a compatible model. There is no need to loosen screws or dismantle any ring attachments.

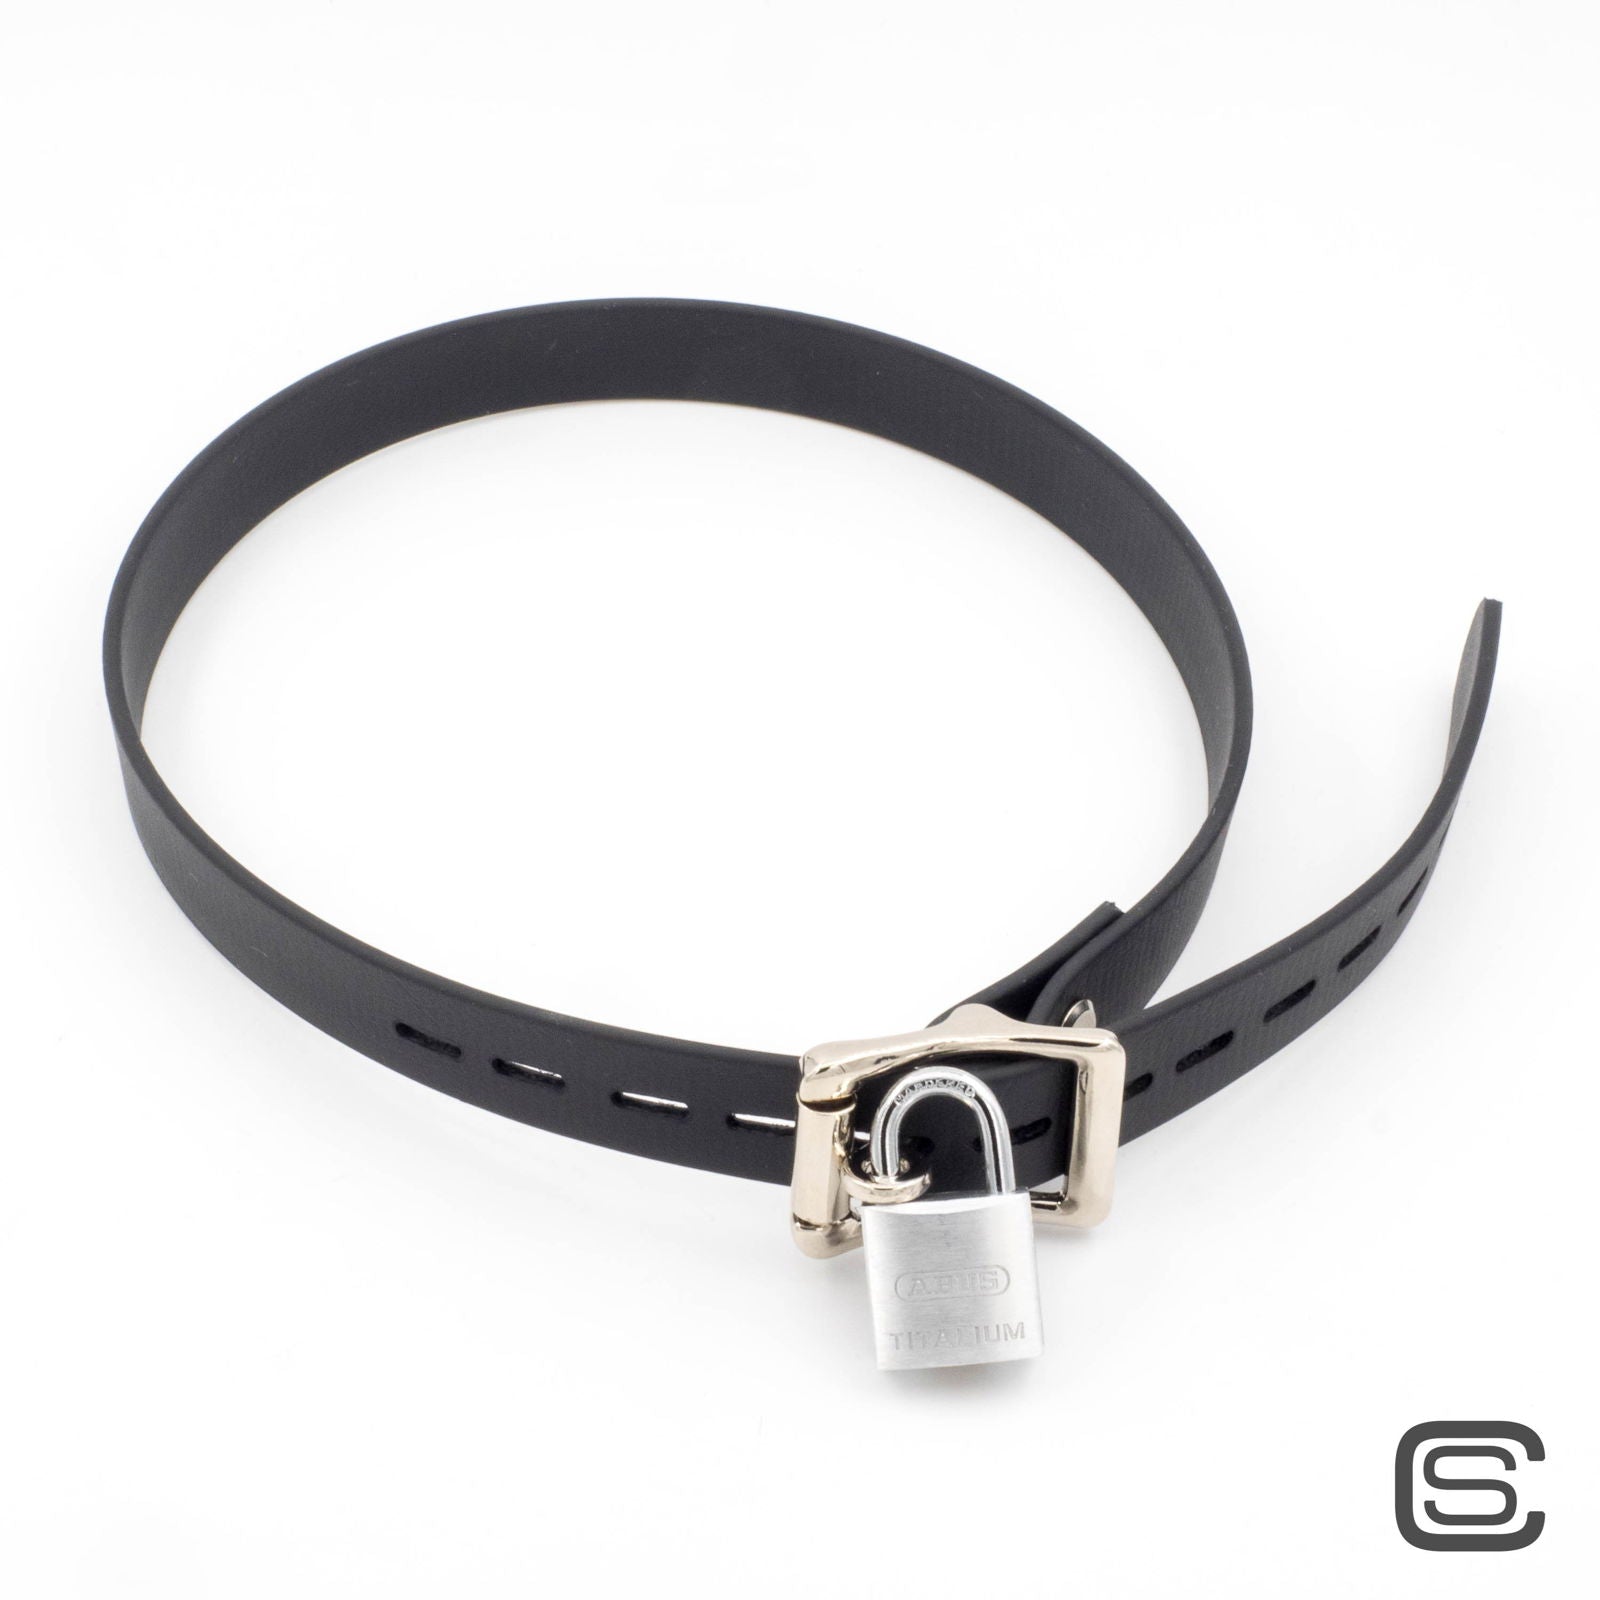
The BioThane® straps combine durability with easy care. The coated webbing is waterproof and can usually be cleaned with warm water and soap. Compared with leather, it requires less maintenance and is easier to keep clean – a practical advantage for regular, hygienic cleaning.

How to put it on

Headgear strap diagram identifying the coloured straps and pucks.

The round strap connectors are referred to as “pucks” in these instructions. The colours help you identify the individual straps and pucks.

1. Prepare the main strap

First thread the black main strap through the orange puck and then the green puck. Next, thread on the gag, followed by the blue puck and the pink puck.

2. Connect the main strap to the headpiece

Thread the free end of the black main strap through the purple puck on the headpiece. The headpiece and main strap are now connected. Leave the main strap unfastened for now.

3. Insert the gag and fasten the main strap

Insert the gag. Hold the red puck against your forehead and lay the cyan strap towards the back for now. Fasten the black main strap loosely.

4. Position the crown strap

Bring the cyan strap from the back of your head over the crown to your forehead, and position the red puck on your forehead. It should sit above the bridge of your nose without pressing on it.

5. Thread the orange chin strap

Pass the orange strap through the blue puck, underneath your chin and then back up through the orange puck. Thread it into the orange buckle and fasten it loosely for now.

6. Thread the pink chin strap

Repeat on the opposite side with the pink strap: pass it through the green puck, underneath your chin and then up through the pink puck on the other side to the pink buckle. Fasten this loosely as well.

7. Adjust the fit

Once all straps are loosely connected, slide the pucks into the desired positions and align the pivoting straps. Make sure the straps lie flat without twisting.

Then tighten the straps gradually using the buckles. Keep checking the positions of the pucks and the fit of the whole Headgear. The forehead connector should remain above the bridge of your nose, with no uncomfortable pressure.

Adjust the fit with the pucks

The straps and connector discs let you adapt the head harness to different head shapes. The discs, also called “pucks”, guide the straps and determine where they can slide or pivot. This lets you coordinate the positions of the connectors with the path of the straps.

In the illustrations, cyan indicates sliding and orange indicates the pivoting movement of the straps.

Cheek connector

Cheek connector: two sliding straps and a vertical strap that can also pivot.

Two continuous straps cross here. The horizontal strap can slide left and right, and the vertical strap can slide up and down. The vertical strap can also pivot within its guide. This lets you adjust the position of the connector on your cheek and the angle of the vertical strap.

Forehead connector

Forehead connector: three attached straps showing their possible pivot positions.

Three straps are each secured with a screw. They can pivot around their attachment points but cannot slide lengthways there. The single upper strap has a smaller pivot range; the two side straps can be angled further outwards. This lets you adjust their path over the head and towards the sides.

The forehead connector should sit high enough on your forehead without pressing on the bridge of your nose. If positioned too low, it can cause uncomfortable pressure or pressure marks. Move it higher if you feel pressure in that area.

Rear head connector

Rear head connector: a vertically sliding centre strap and two pivoting side straps.

The vertical strap passes through a straight guide and can slide up and down. This allows the connector to be positioned along the strap. The two side straps are secured with screws and can pivot independently, letting you adjust their angle at the back of your head.

If the connector disc slips unintentionally, it can be secured in place using the screw hole provided in its centre. Punch a suitable hole in the vertical strap at the desired position and screw the strap to the disc. This prevents sliding along that strap while the side straps remain free to pivot.

End connector

End connector: an attached upper strap and a horizontally sliding strap; the lower spare slot remains free.

The upper strap is secured with a screw. The horizontal strap can slide left and right through the connector. This allows the position of the upper attachment point to be adjusted along the horizontal strap. The lower slot remains available as a spare.

Together, these connectors let you gradually adjust the strap layout to the desired position on your head. Sliding redistributes the available strap length between sections; pivoting changes the direction of the strap.

Headgear

4 reviews
Regular price €139,00

Local taxes included (where applicable)

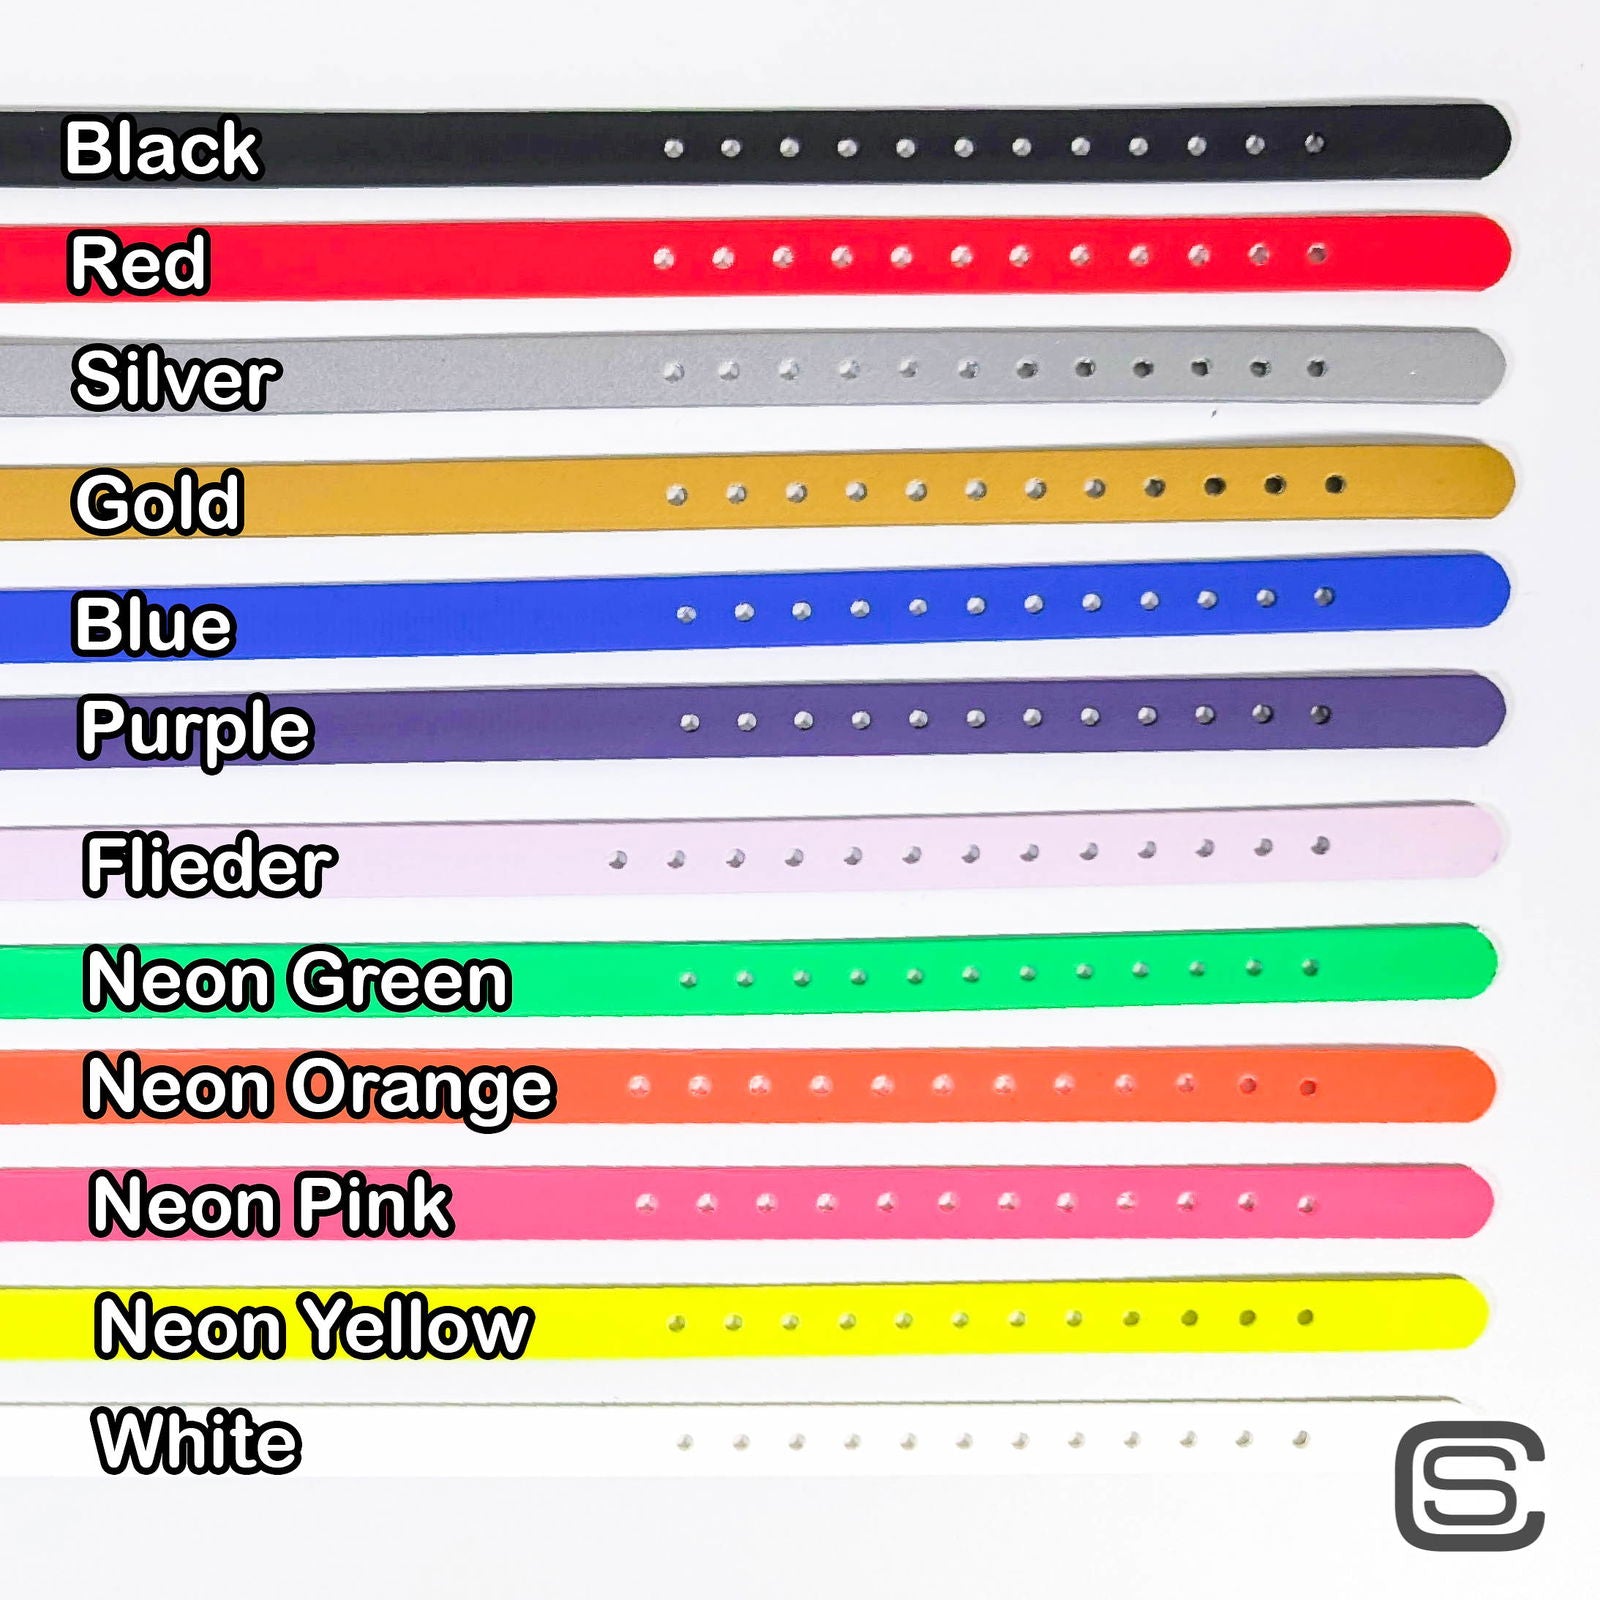
  • Black
  • Neon Yellow
  • Neon Orange
  • Standard
  • Lockable

Headgear – a tailored fit, a firm hold

A head harness you can adjust to suit the shape of your head: the Headgear uses specially designed connector discs instead of conventional rings. Depending on the connector, the straps can slide or pivot. This lets you adjust not only the fit, but also the position of the connectors and the path of each strap – for a close-fitting, restrictive hold.

Changing the gag is straightforward, too: it threads directly onto the main strap and can be swapped for a compatible model. There is no need to loosen screws or dismantle any ring attachments.

The BioThane® straps combine durability with easy care. The coated webbing is waterproof and can usually be cleaned with warm water and soap. Compared with leather, it requires less maintenance and is easier to keep clean – a practical advantage for regular, hygienic cleaning.

How to put it on

Headgear strap diagram identifying the coloured straps and pucks.

The round strap connectors are referred to as “pucks” in these instructions. The colours help you identify the individual straps and pucks.

1. Prepare the main strap

First thread the black main strap through the orange puck and then the green puck. Next, thread on the gag, followed by the blue puck and the pink puck.

2. Connect the main strap to the headpiece

Thread the free end of the black main strap through the purple puck on the headpiece. The headpiece and main strap are now connected. Leave the main strap unfastened for now.

3. Insert the gag and fasten the main strap

Insert the gag. Hold the red puck against your forehead and lay the cyan strap towards the back for now. Fasten the black main strap loosely.

4. Position the crown strap

Bring the cyan strap from the back of your head over the crown to your forehead, and position the red puck on your forehead. It should sit above the bridge of your nose without pressing on it.

5. Thread the orange chin strap

Pass the orange strap through the blue puck, underneath your chin and then back up through the orange puck. Thread it into the orange buckle and fasten it loosely for now.

6. Thread the pink chin strap

Repeat on the opposite side with the pink strap: pass it through the green puck, underneath your chin and then up through the pink puck on the other side to the pink buckle. Fasten this loosely as well.

7. Adjust the fit

Once all straps are loosely connected, slide the pucks into the desired positions and align the pivoting straps. Make sure the straps lie flat without twisting.

Then tighten the straps gradually using the buckles. Keep checking the positions of the pucks and the fit of the whole Headgear. The forehead connector should remain above the bridge of your nose, with no uncomfortable pressure.

Adjust the fit with the pucks

The straps and connector discs let you adapt the head harness to different head shapes. The discs, also called “pucks”, guide the straps and determine where they can slide or pivot. This lets you coordinate the positions of the connectors with the path of the straps.

In the illustrations, cyan indicates sliding and orange indicates the pivoting movement of the straps.

Cheek connector

Cheek connector: two sliding straps and a vertical strap that can also pivot.

Two continuous straps cross here. The horizontal strap can slide left and right, and the vertical strap can slide up and down. The vertical strap can also pivot within its guide. This lets you adjust the position of the connector on your cheek and the angle of the vertical strap.

Forehead connector

Forehead connector: three attached straps showing their possible pivot positions.

Three straps are each secured with a screw. They can pivot around their attachment points but cannot slide lengthways there. The single upper strap has a smaller pivot range; the two side straps can be angled further outwards. This lets you adjust their path over the head and towards the sides.

The forehead connector should sit high enough on your forehead without pressing on the bridge of your nose. If positioned too low, it can cause uncomfortable pressure or pressure marks. Move it higher if you feel pressure in that area.

Rear head connector

Rear head connector: a vertically sliding centre strap and two pivoting side straps.

The vertical strap passes through a straight guide and can slide up and down. This allows the connector to be positioned along the strap. The two side straps are secured with screws and can pivot independently, letting you adjust their angle at the back of your head.

If the connector disc slips unintentionally, it can be secured in place using the screw hole provided in its centre. Punch a suitable hole in the vertical strap at the desired position and screw the strap to the disc. This prevents sliding along that strap while the side straps remain free to pivot.

End connector

End connector: an attached upper strap and a horizontally sliding strap; the lower spare slot remains free.

The upper strap is secured with a screw. The horizontal strap can slide left and right through the connector. This allows the position of the upper attachment point to be adjusted along the horizontal strap. The lower slot remains available as a spare.

Together, these connectors let you gradually adjust the strap layout to the desired position on your head. Sliding redistributes the available strap length between sections; pivoting changes the direction of the strap.

Drawer Title

This website uses cookies to ensure you get the best experience on our website.

Welcome to our site

Age Verification

Come back when you're older

Sorry, the content of this store can't be seen by a younger audience. Come back when you're older.

Similar Products